Learn more


Looking to create a fun and interactive bulletin board for your preschool classroom? Our step-by-step guide will walk you through the process of creating an "Our Little Helpers" bulletin board that will engage and inspire your little ones. Let's get started!
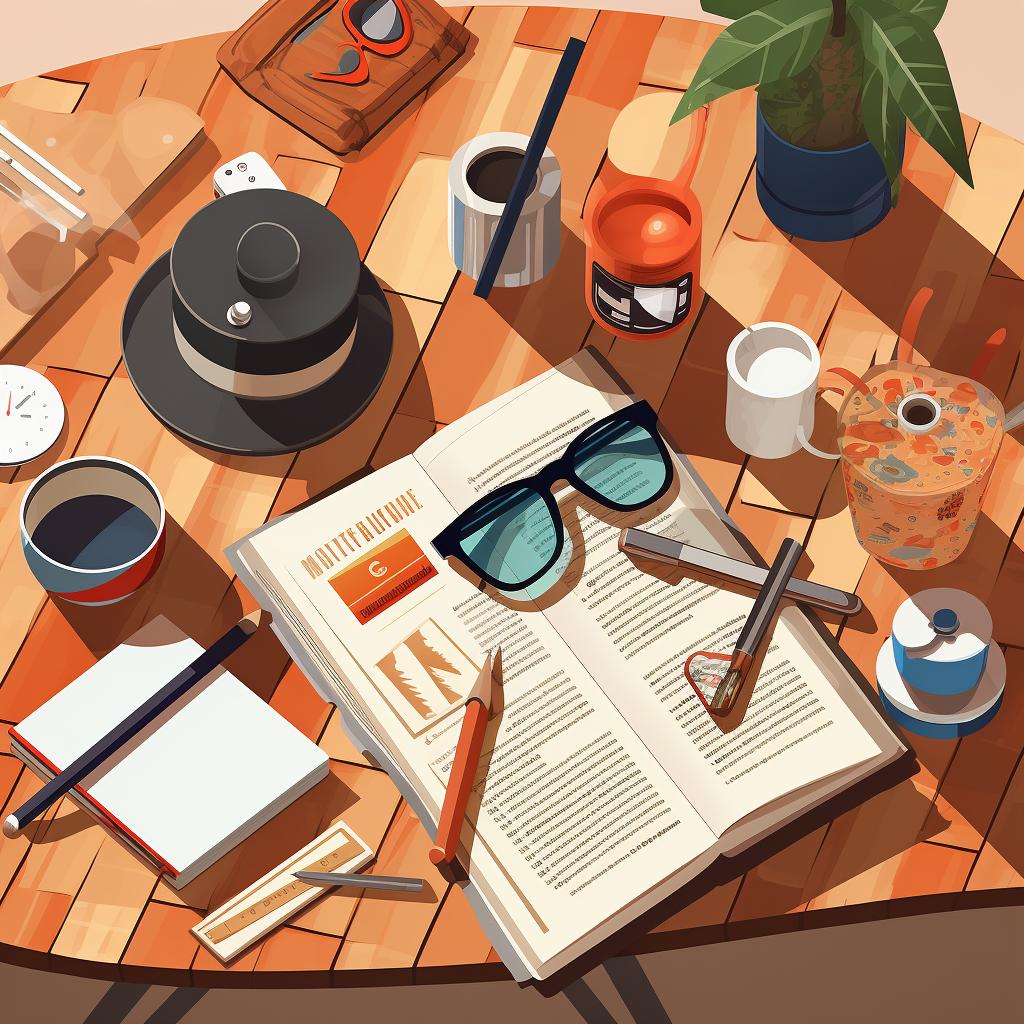
Step 1: Gather Your Materials
To begin, you'll need a bulletin board, colorful paper, markers, scissors, glue, and pictures of common tasks or chores. Gathering these materials will ensure you have everything you need to bring your bulletin board to life.
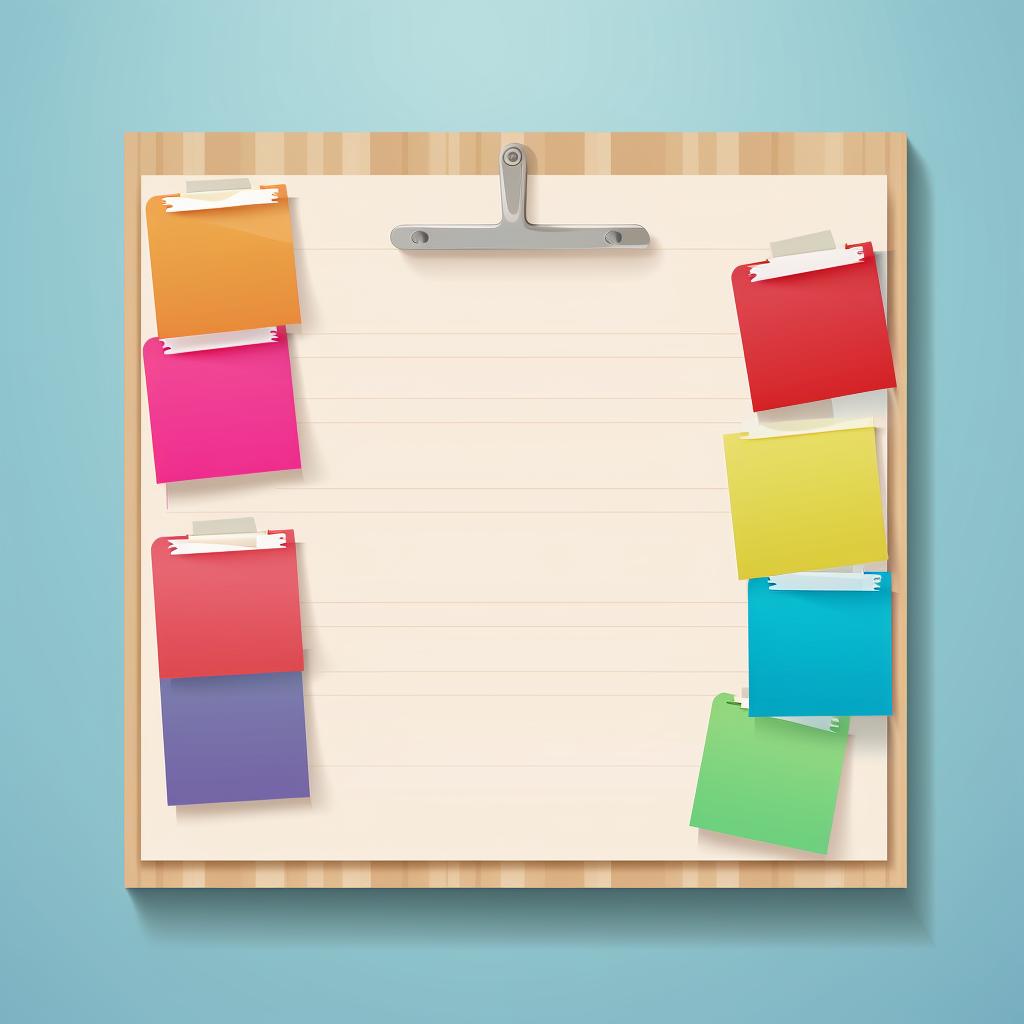
Step 2: Create the Background
Cover the bulletin board with colorful paper. This will serve as the backdrop for your "Little Helpers." Choose vibrant colors that will catch the children's attention and make the bulletin board visually appealing.
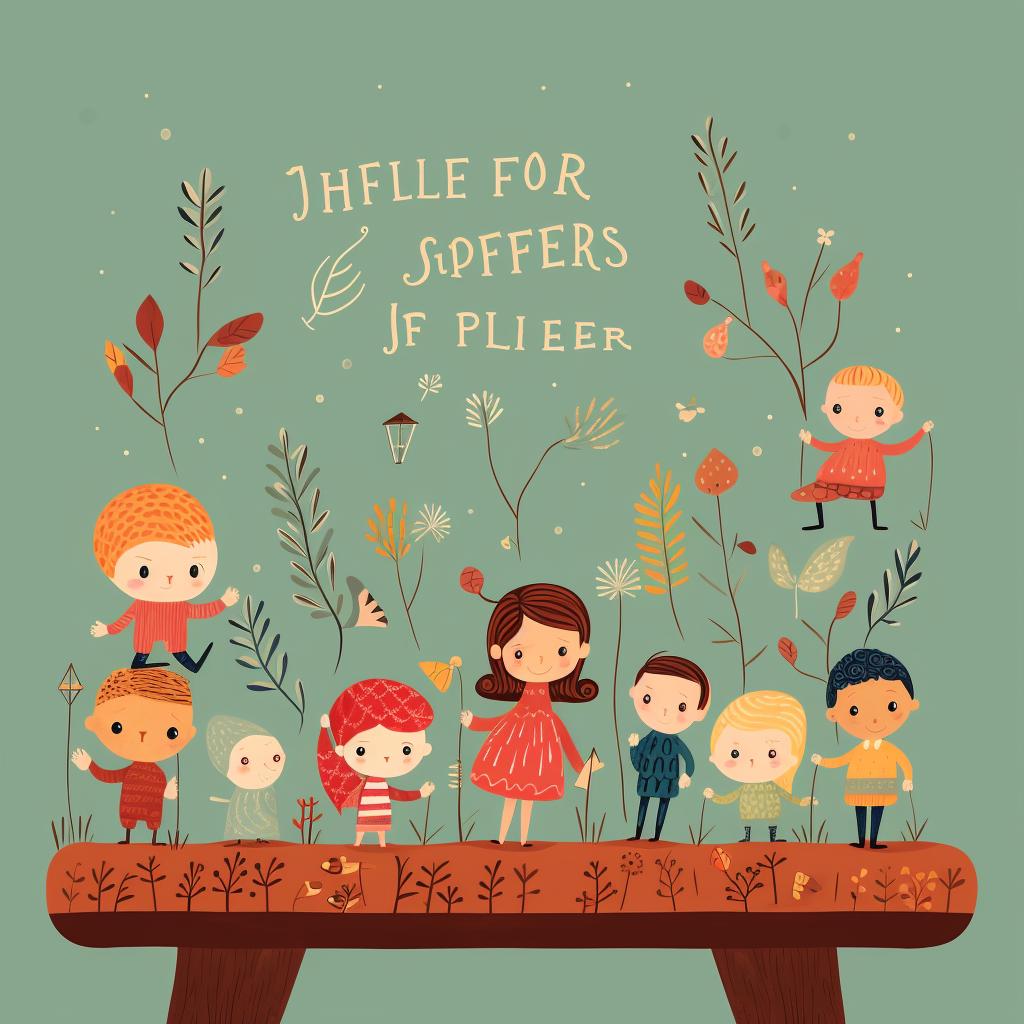
Step 3: Label the Board
Using markers, write "Our Little Helpers" at the top of the board. Make sure the writing is bold and eye-catching. This will help set the theme and purpose of the bulletin board.
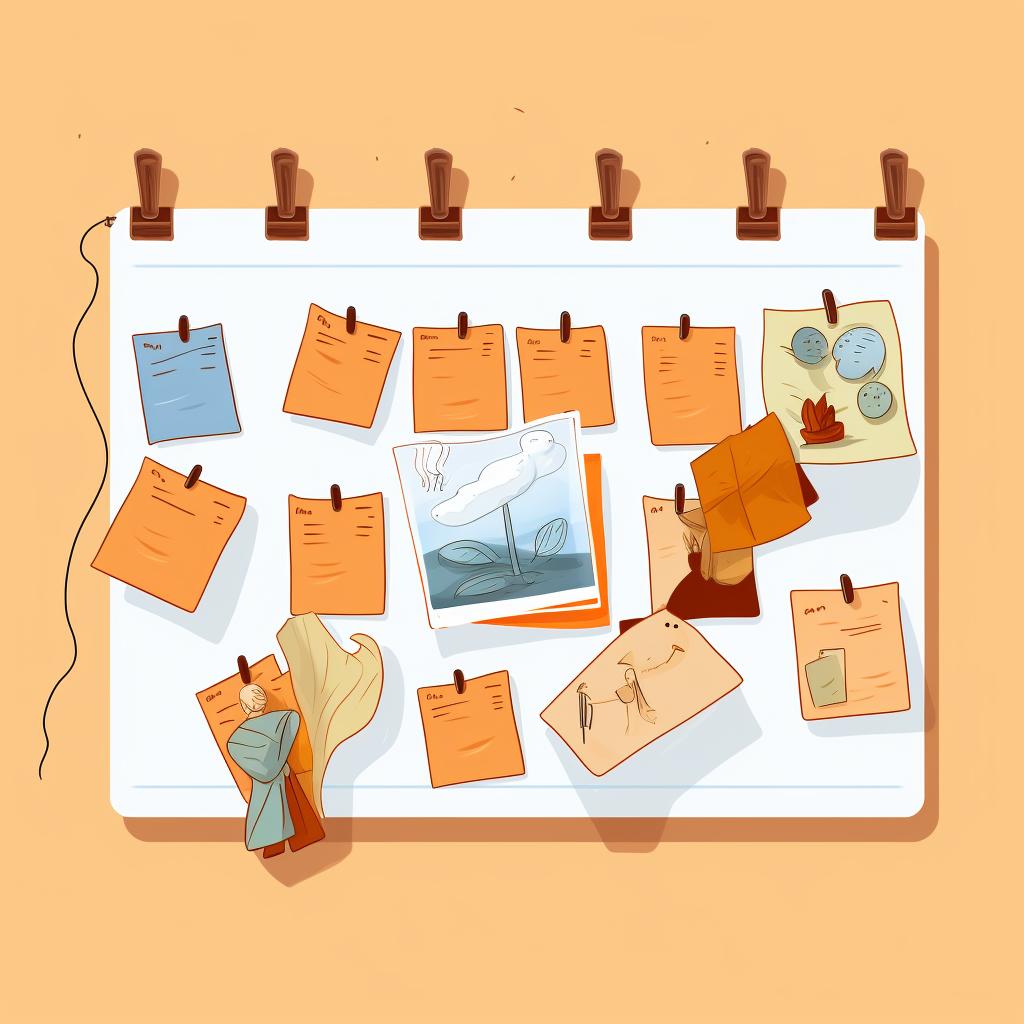
Step 4: Add the Tasks
Cut out pictures of common tasks or chores and glue them to the board. These can include things like tidying up, watering plants, or helping with dishes. The visuals will help the children understand the tasks and encourage them to participate.
Step 5: Assign Helpers
Write each child's name on a piece of paper and attach it to a task. Rotate the names every week to give everyone a chance to be a "Little Helper." This will create a sense of ownership and responsibility among the children.
By following these simple steps, you can create an engaging and interactive bulletin board that will not only decorate your classroom but also teach important life skills to your preschoolers. Encourage the children to take pride in being "Little Helpers" and watch as they eagerly take on tasks and responsibilities.
At Preschool Playbook, we believe in making learning fun and engaging for preschoolers. Our resources, like this step-by-step guide, are designed to provide parents and teachers with the tools they need to create a stimulating and educational environment for young children.
So why wait? Start creating your own "Our Little Helpers" bulletin board today and watch as your preschoolers blossom into responsible and helpful individuals. Happy crafting!
All Rights Reserved © 2024
