Learn more


Delve into the world of creativity with your preschooler as you embark on a fun-filled journey of crafting a Paper Shamrock together. This simple yet engaging activity, brought to you by Preschool Playbook, is a perfect blend of learning and play. Not only does it help develop fine motor skills, but it also introduces your little one to the joy of creating something from scratch.
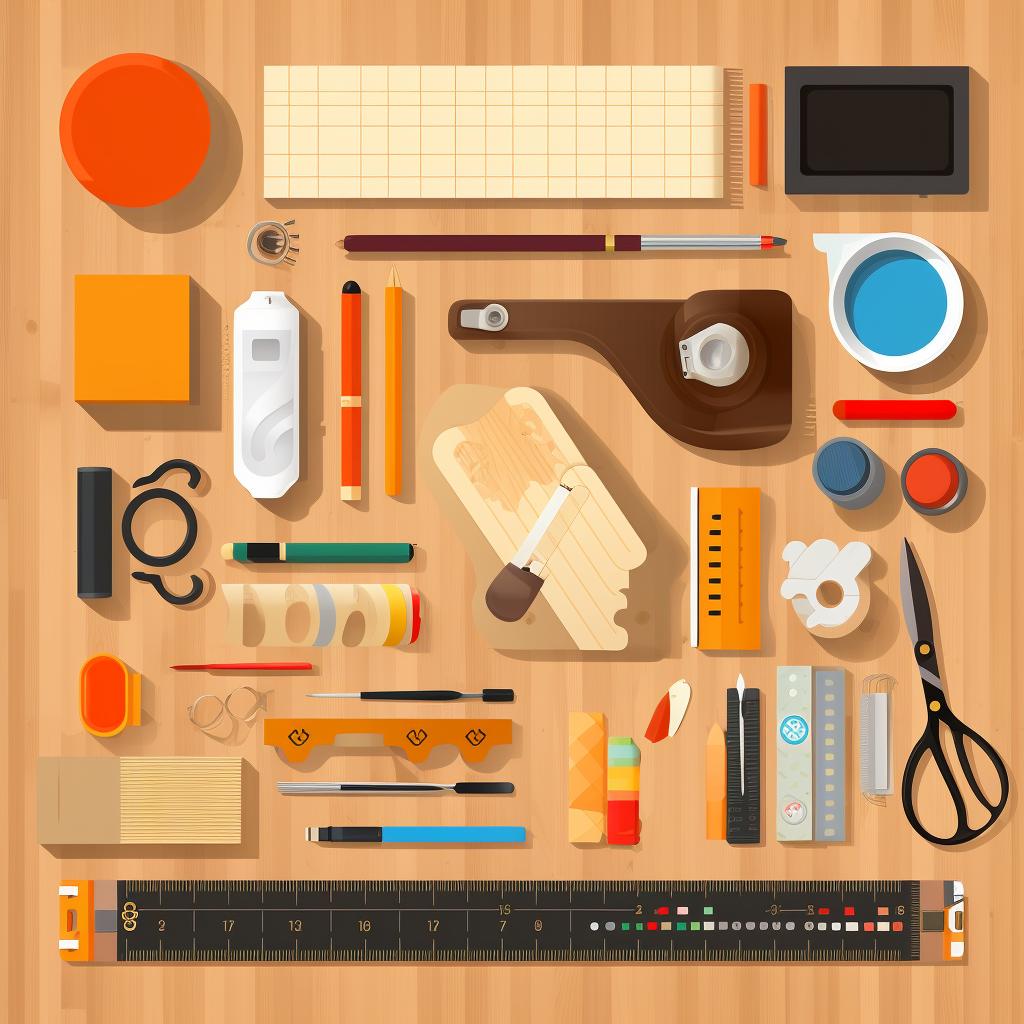
With our easy-to-follow, step-by-step guide, you'll have a vibrant Paper Shamrock ready in no time. The beauty of this activity lies in its simplicity. All you need are basic craft supplies like green construction paper, a pencil, scissors, and glue. And of course, feel free to sprinkle in some of your child's favorite decorations like glitter or sequins to add a personal touch to your shamrock.
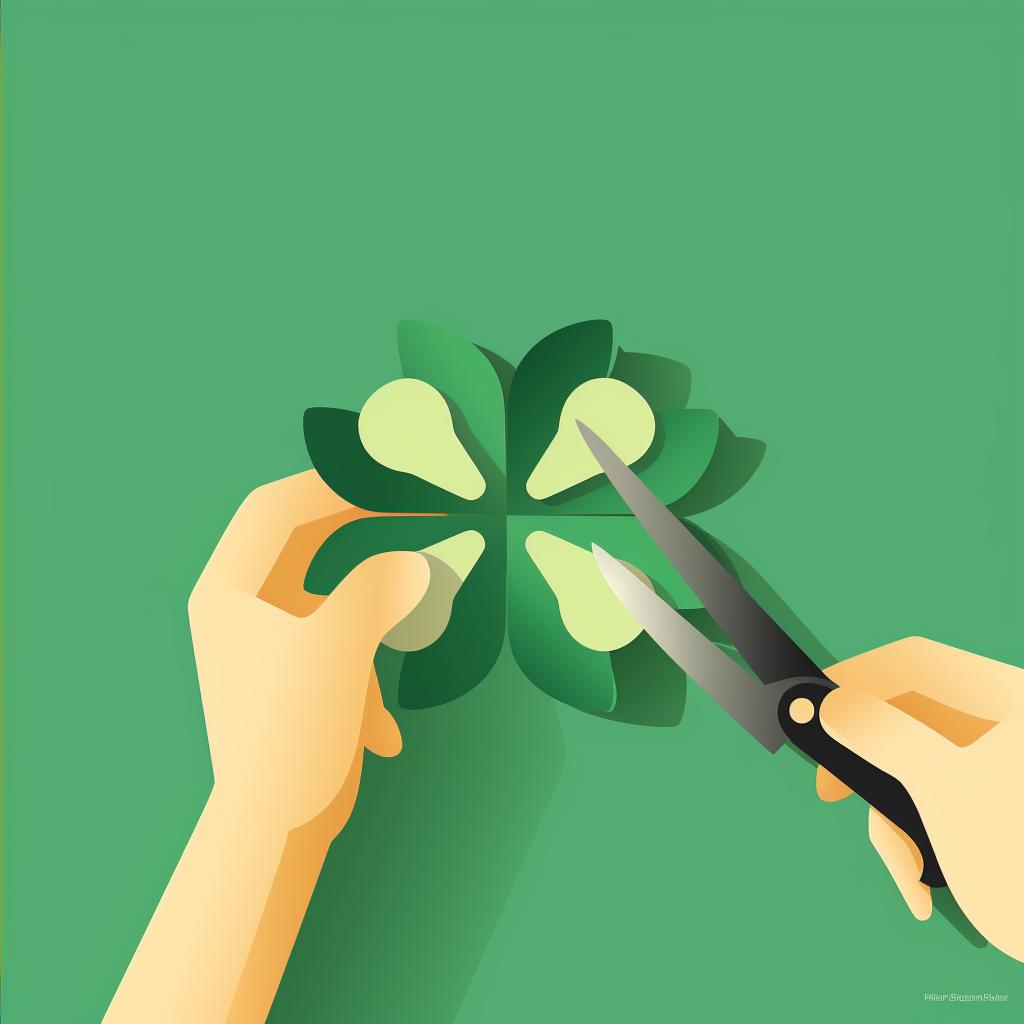
Creating a Paper Shamrock is more than just a fun activity. It's a hands-on way to engage your child in learning. As they trace, cut, and decorate, they're also developing essential skills. They're learning about shapes as they draw hearts to form the shamrock leaves. They're practicing their fine motor skills as they carefully cut out their shamrock. And they're letting their creativity shine as they decorate their masterpiece.
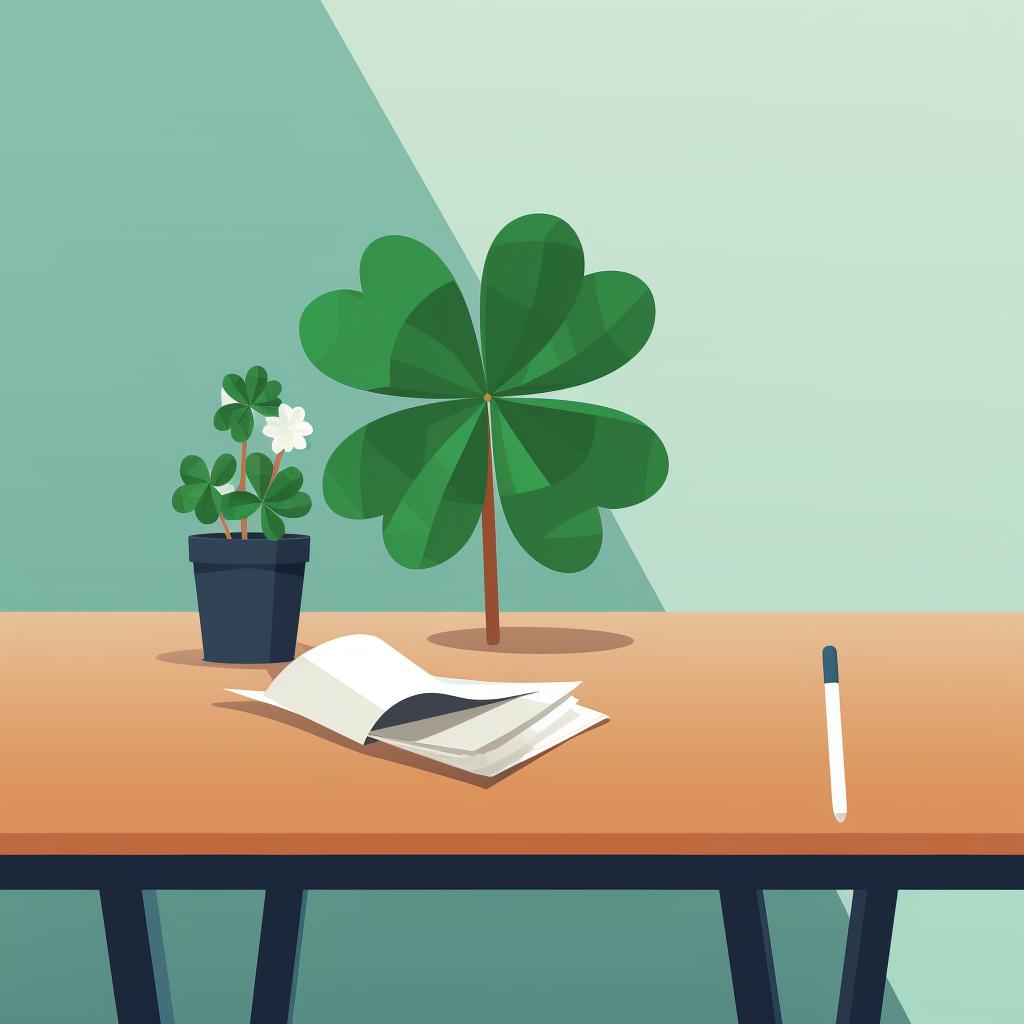
Once your child's Paper Shamrock is complete, make sure to find a special place to display it. This could be on your fridge, in a window, or even as a gift to a loved one. Displaying your child's artwork not only boosts their confidence but also shows them that their work is valued and appreciated.
So why wait? Grab your craft supplies and dive into this fun, educational activity. Remember, the goal isn't to craft the perfect shamrock. The goal is to have fun, learn, and create memories that will last a lifetime.
Stay tuned to Preschool Playbook for more exciting activities, crafts, and educational materials. We're here to make learning fun and engaging for your preschooler.
All Rights Reserved © 2024
