Learn more


Are you looking for a fun and interactive bulletin board idea for your preschool classroom or home? Look no further than the 'Alphabet Garden' bulletin board! This step-by-step guide will walk you through the process of creating your own colorful and engaging bulletin board that will help your preschoolers learn and review the alphabet.
Step 1: Gather Your Materials
To get started, you'll need a bulletin board, green construction paper, scissors, markers, and alphabet stickers or cutouts. Don't forget the adhesive to stick everything on the board! Lay out all your materials on a table to make sure you have everything you need.
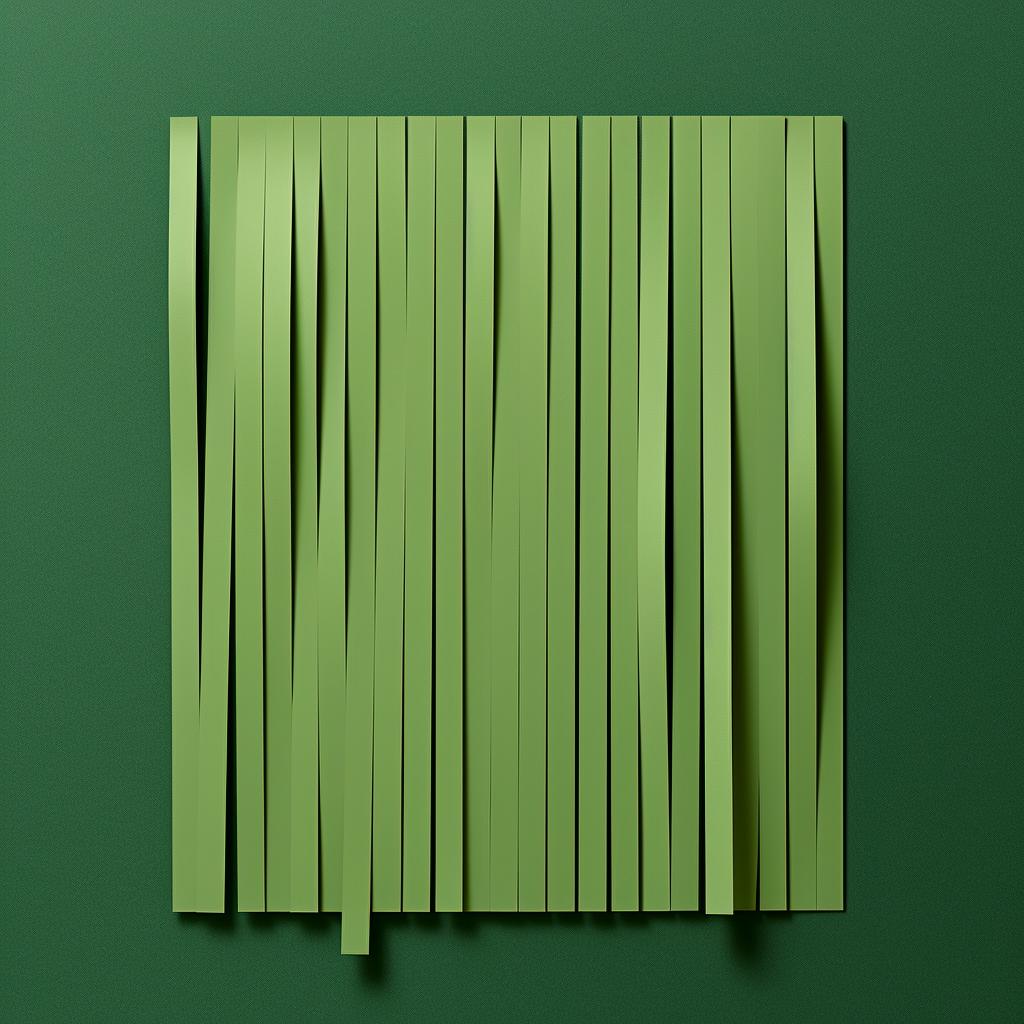
Step 2: Create the Grass
Cut the green construction paper into strips to resemble grass. Attach these strips to the bottom of your bulletin board to create a lush garden base. This will serve as the backdrop for your Alphabet Garden.
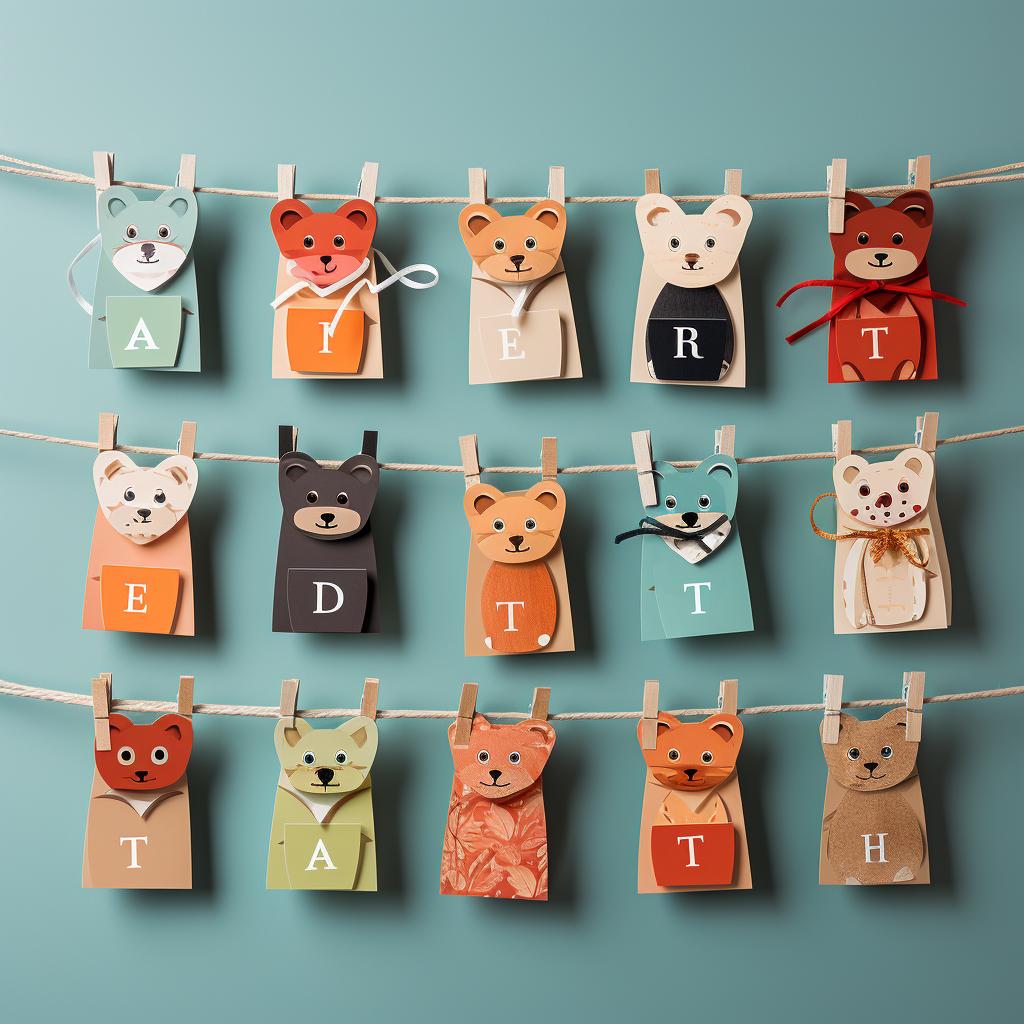
Step 3: Add the Alphabet Flowers
Next, take your alphabet stickers or cutouts and attach them to the top of long strips of paper. These strips will serve as the stems of your 'flowers'. Arrange the alphabet flowers in alphabetical order and stick them onto the grass. This will help your preschoolers visually associate each letter with its corresponding flower.
Step 4: Decorate Your Garden
Now it's time to get creative! Add some extra decorations to your garden, such as paper butterflies, bees, or even a bright sun in the corner. These additional elements will make your Alphabet Garden even more engaging and visually appealing for the children.
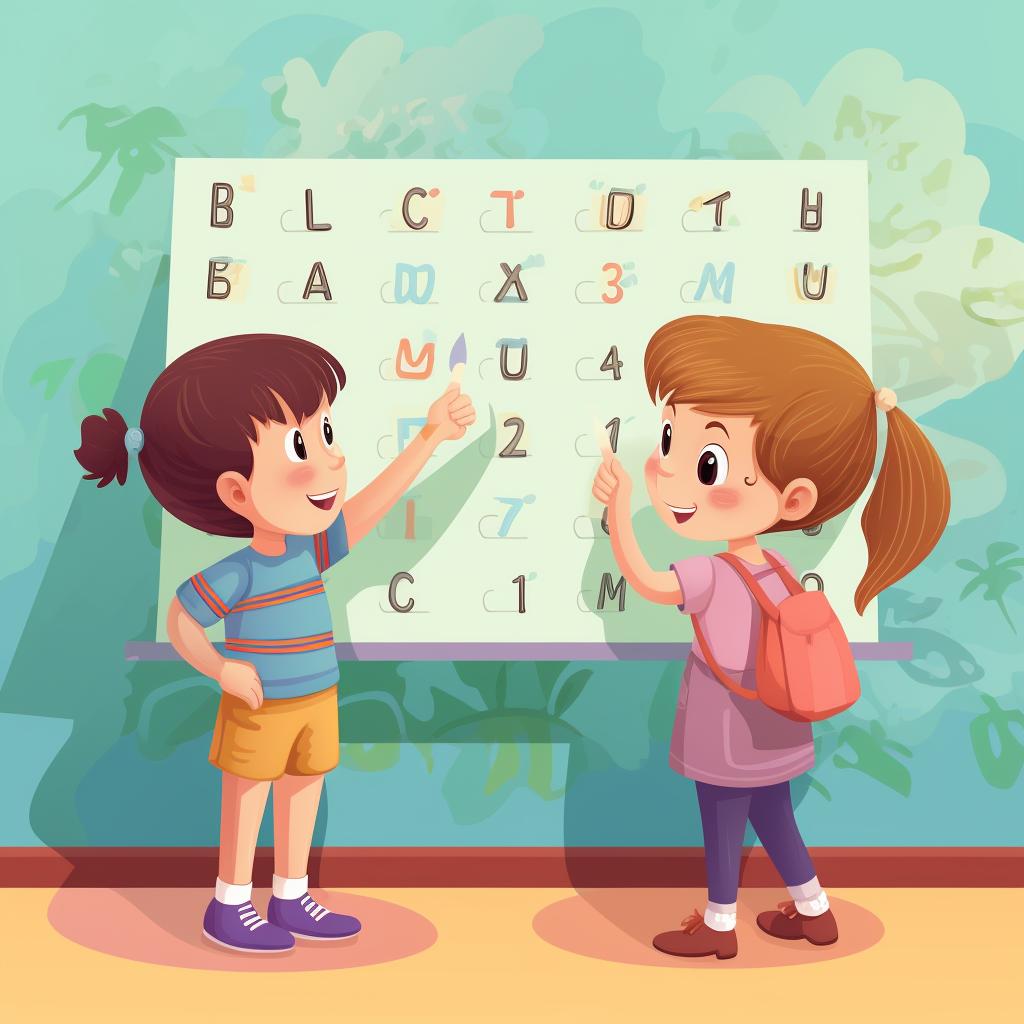
Step 5: Review the Alphabet
Once your Alphabet Garden is complete, it's time to put it to use! Use the bulletin board to review the alphabet with your preschoolers. You can make it interactive by turning it into a game, asking the children to find specific letters in the garden. This hands-on approach to learning will make the alphabet come alive for your little ones.
Creating your own 'Alphabet Garden' bulletin board is a great way to make learning the alphabet fun and engaging for preschoolers. By following these simple steps, you can create a visually appealing and interactive learning tool that will captivate and educate your little ones. So gather your materials, get creative, and watch your preschoolers blossom as they explore the world of letters in their very own Alphabet Garden!
All Rights Reserved © 2024
